Nigezza Creates aka Gez, Independent Stampin' Up® Demonstrator
Welcome to my blog, thank you for joining me today 😀
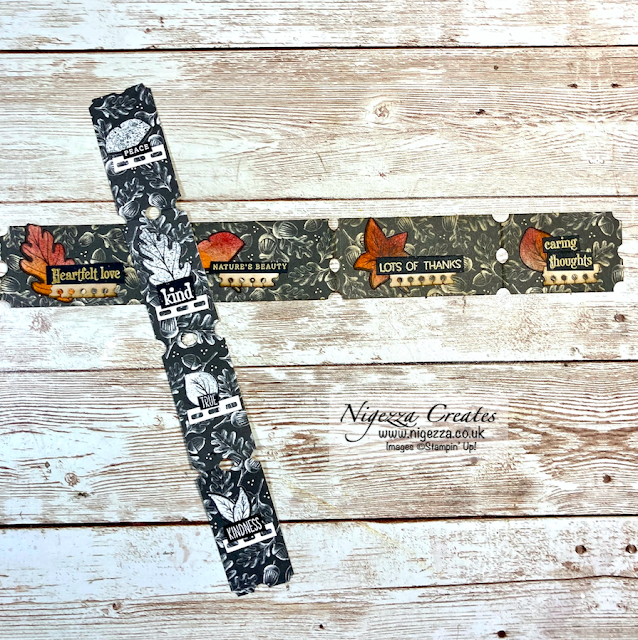
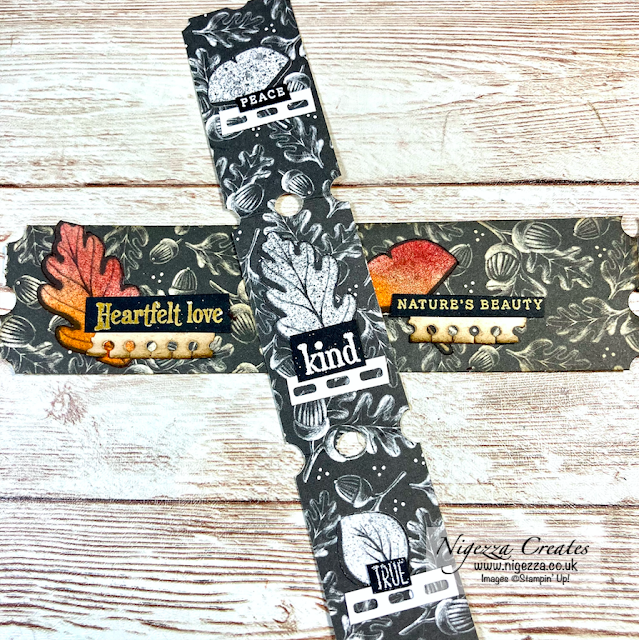
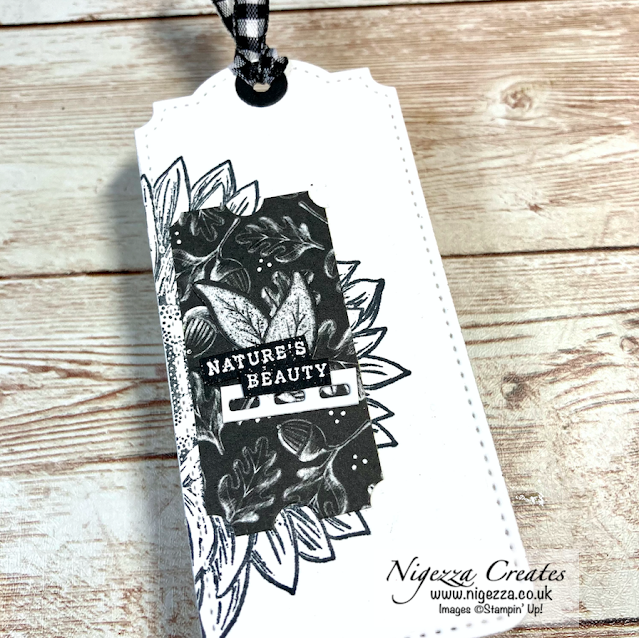
I am bringing you the tutorial for the project I made for the Share It Sunday Blog Hop. I have been playing around with paper making little tickets for my vintage journals and decided to make some black and white ones as well. In the blog hop I showed how they could be used as a focal point on a tag and a card. In the video I show the vintage versions as well that I have used as a journal card. The ticket strips could also be used as a belly band, to edge a page or torn off the strip for a cluster. I show how well they look on tags, journalling cards and a greeting card as well.
Measurements and Materials
- Card base
- Half a standard sheet
- 8 1/4" x 5 7/8"
- Score @ 4 1/8" on the long side
- US size card - 8 1/2" x 5 1/2
- Score @ 4 1/4"
- Metric 21cm x 14.5cm
- Score @ 10.5cm
- Card Ma1 1 - 5 5/8" x 3 7/8"
- US size 5 1/4" x 4"
- Metric 14cm x 10cm
- I cut the ticket strip from a sheet of 12x12 designer series paper just 1" wide
- I scored every 2" along the strip to make 1" x 2" tickets
- I also made bigger tickets that were 1 1/4" wide and scored @ 2 1/2" long
- Using a hand held hole punch I created the ticket look
- Each ticket was decorated in a similar way with a leaf, a sentiment and a decorative border
- I stamped a black sunflower onto Basic White card stock to give a dramatic background
Now watch the video tutorial to see how this was made :-)
- Card base
- Half a standard sheet
- 8 1/4" x 5 7/8"
- Score @ 4 1/8" on the long side
- US size card - 8 1/2" x 5 1/2
- Score @ 4 1/4"
- Metric 21cm x 14.5cm
- Score @ 10.5cm
- Card Ma1 1 - 5 5/8" x 3 7/8"
- US size 5 1/4" x 4"
- Metric 14cm x 10cm
- I cut the ticket strip from a sheet of 12x12 designer series paper just 1" wide
- I scored every 2" along the strip to make 1" x 2" tickets
- I also made bigger tickets that were 1 1/4" wide and scored @ 2 1/2" long
- Using a hand held hole punch I created the ticket look
- Each ticket was decorated in a similar way with a leaf, a sentiment and a decorative border
- I stamped a black sunflower onto Basic White card stock to give a dramatic background
Video Tutorial
Time for the closeups!
I hope you like this project and will give it a try. To make sure you don't miss any of my projects why not subscribe to my YouTube channel and subscribe to my newsletter and click the button to follow my blog :-)
I will be back tomorrow, until then ...
Happy Crafting!
Gez xxx
Happy Crafting!
Gez xxx
Below are the products I used, if you click on the item it will take you directly to my shop where you can purchase the items.
Don't forget to use my host code to receive a share of the Stampin' rewards as a thank you for shopping with me :-)
Don't forget to use my host code to receive a share of the Stampin' rewards as a thank you for shopping with me :-)
Host code is 9KZVA2F2
Current Offers From Me
Click here to see my offers, kits and shares :-)
My Shop
My shop is open 24/7 Click here to shop!
Don't forget to use my host code to receive a share of the Stampin' rewards as a thank you for shopping with me :-)
Host code is 9KZVA2F2
If your order is £150 or more before P&P then do not use the host code as you qualify for host rewards on your own and can chose what you want :-)
Joining Offer
- If you want to start a business for £99 then this is the way to do it!
- Choose £130 worth of products from either the Mini Catalogue or the Annual Catalogue
- You can also add products from the clearance rack and the kits that are available in my on line shop
- No obligation to sell, make videos, blog etc
- You can just join up and get the 20% discount for yourself


.png)
No comments:
Post a Comment