Nigezza Creates aka Gez, Independent Stampin' Up® Demonstrator
Welcome to my blog, thank you for joining me today on Junk Journal Wednesday😀
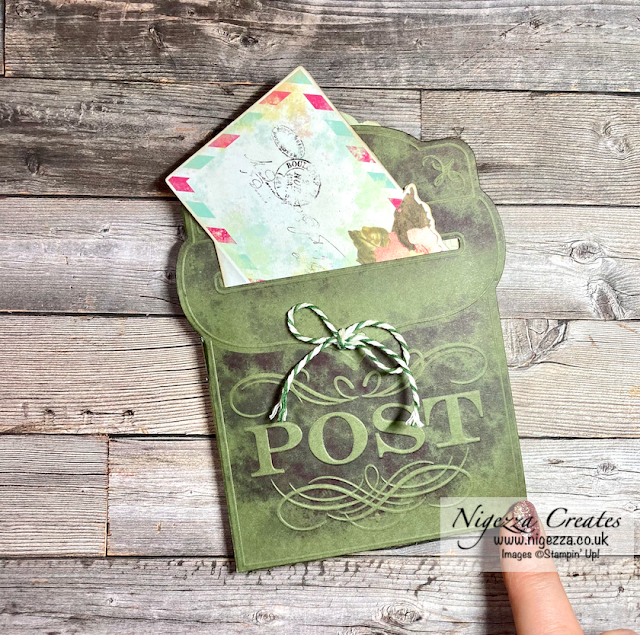
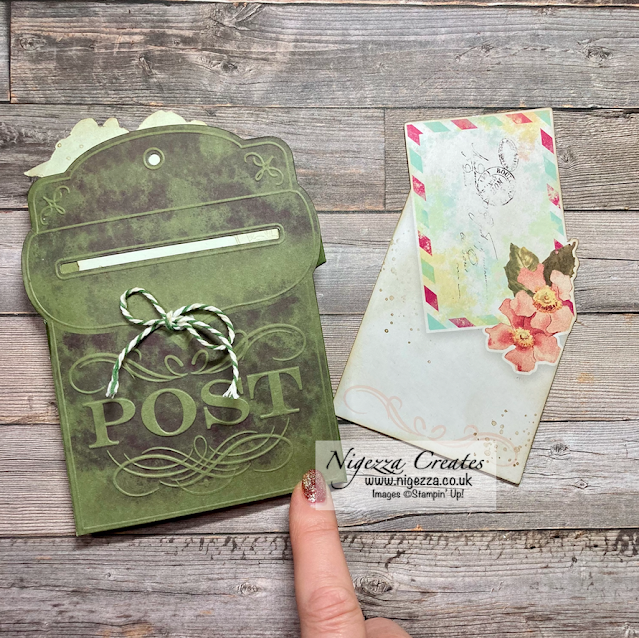
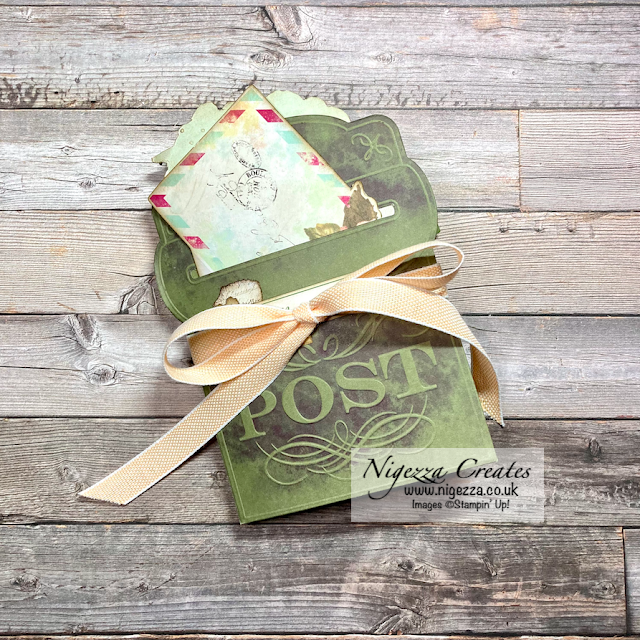
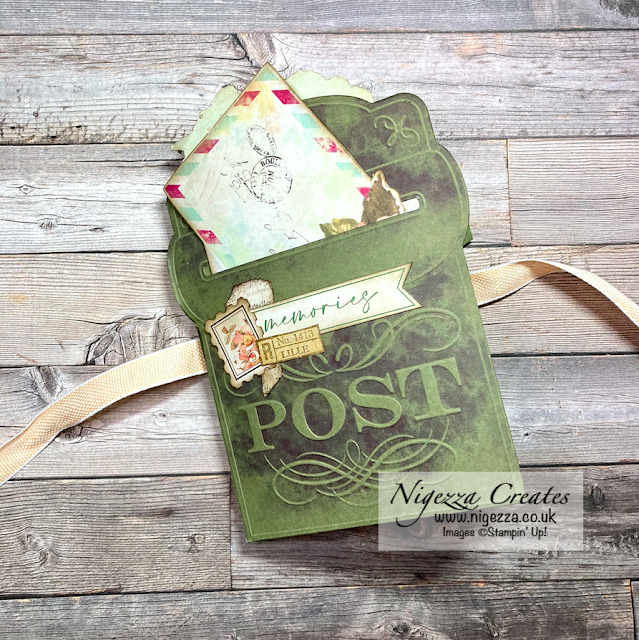
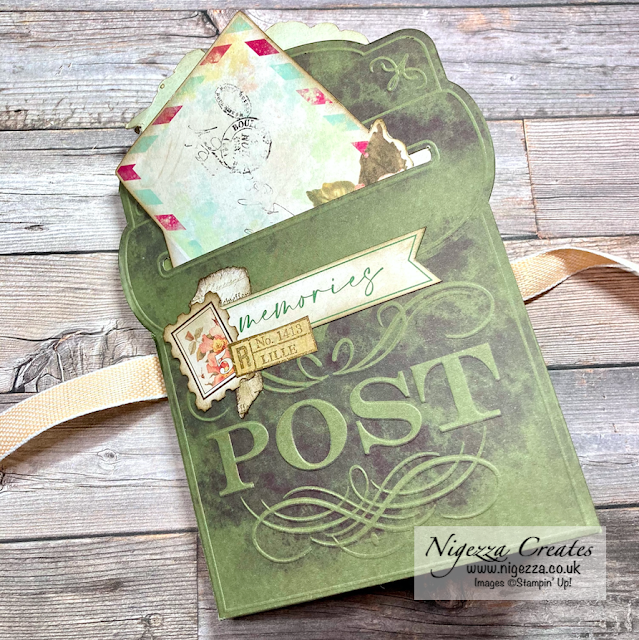
I am taking a break from my Flower Fairies to bring you a quick mini journal. I was reading the updates on the Stampin' Up! demo website and they are launching a new kit today and I was reminded of this precious Parcel card kit that I have had a while. It costs £11.25 and you can make 8 of the cards or even 8 of these journals. I have also used the kit to make a mini album which I will link below.
I have split the tutorial into 2 parts as it took me so long! Don't get me wrong it is a quick mini but I am sure you wouldn't want to watch a video over 2 hours long!
Measurements and Materials
- I scored a line 3/8" from the centre fold to create a spine
- I added some Mossy Meadow cardstock to the back panel to create a back cover
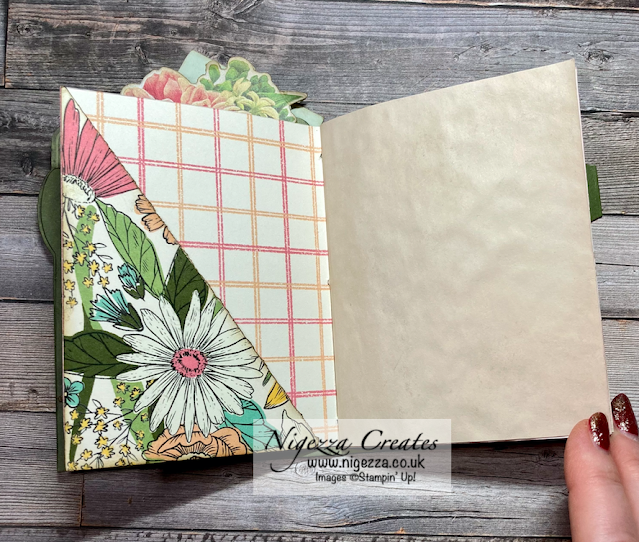
- I stuck the back flap on on 3 sides to create a pocket
- Back cover 5" x 3 7/8"
- I used some Daffodil Afternoon DSP for the signature cover
- 4 3/4" x 7 1/2"
- Scored @ 3 3/4"
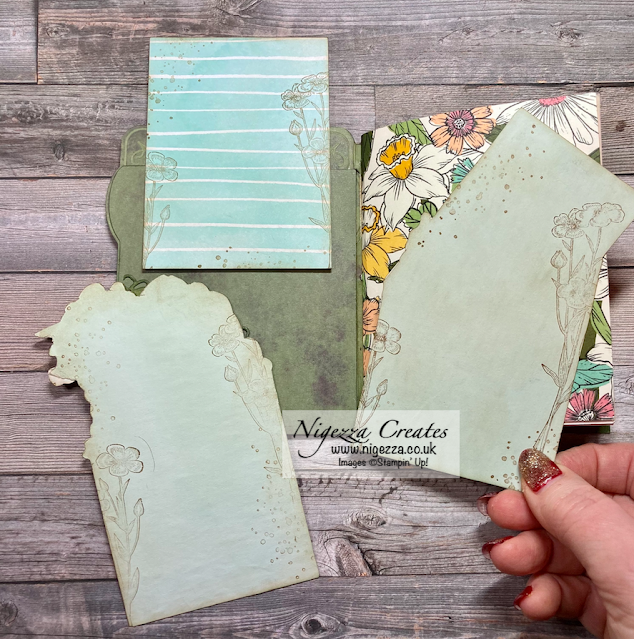
- I gathered sheets of tea , avocado & red cabbage dyed paper
- I also used some parchment paper and some bought vintage style paper
- Each sheet was also cut as per the cover
- I also added a paper bag
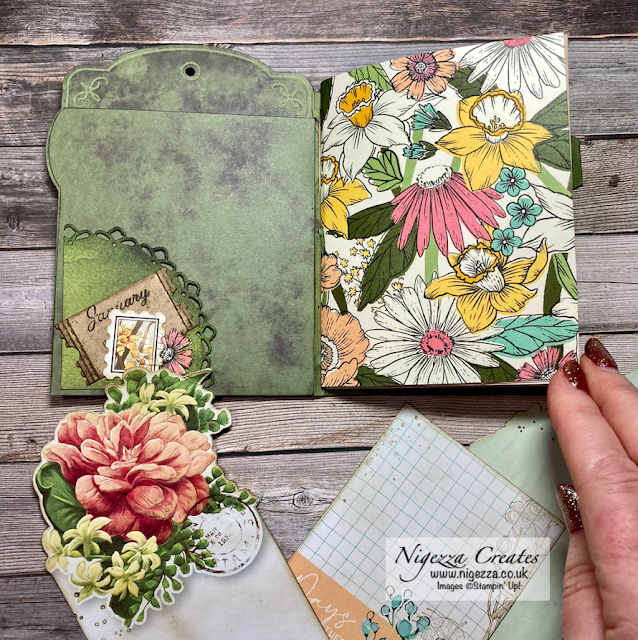
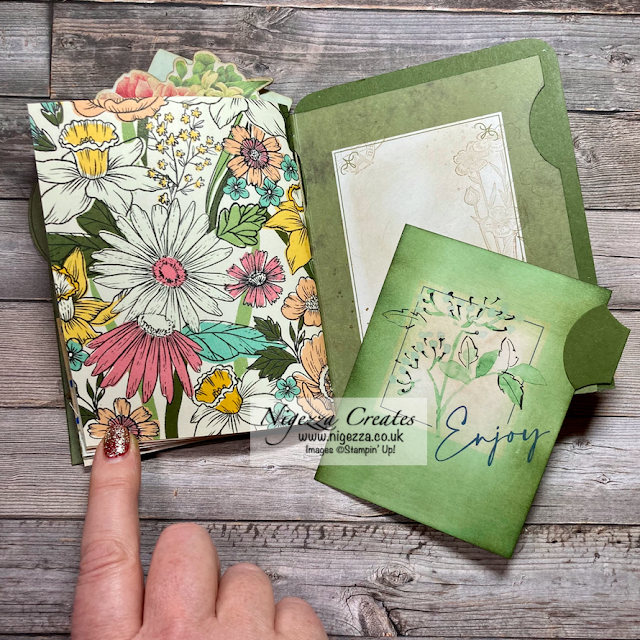
- I created my own tabs by punching out a circle, folding it in half and then punching quarter circles from each edge - see photos below & the video
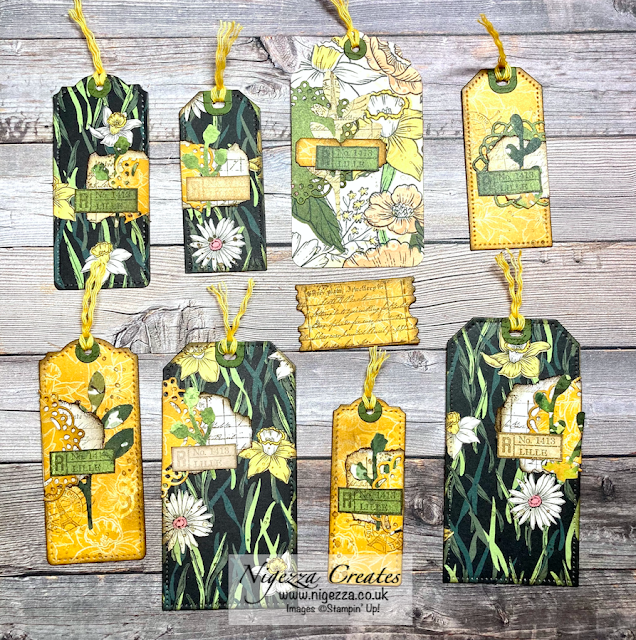
- I made the tags using the Tailor made tags dies
Now watch the video tutorial to see how this was made :-)
- I scored a line 3/8" from the centre fold to create a spine
- I added some Mossy Meadow cardstock to the back panel to create a back cover
- I stuck the back flap on on 3 sides to create a pocket
- Back cover 5" x 3 7/8"
- I used some Daffodil Afternoon DSP for the signature cover
- 4 3/4" x 7 1/2"
- Scored @ 3 3/4"
- I gathered sheets of tea , avocado & red cabbage dyed paper
- I also used some parchment paper and some bought vintage style paper
- Each sheet was also cut as per the cover
- I also added a paper bag
- I created my own tabs by punching out a circle, folding it in half and then punching quarter circles from each edge - see photos below & the video
- I made the tags using the Tailor made tags dies
Video Tutorials
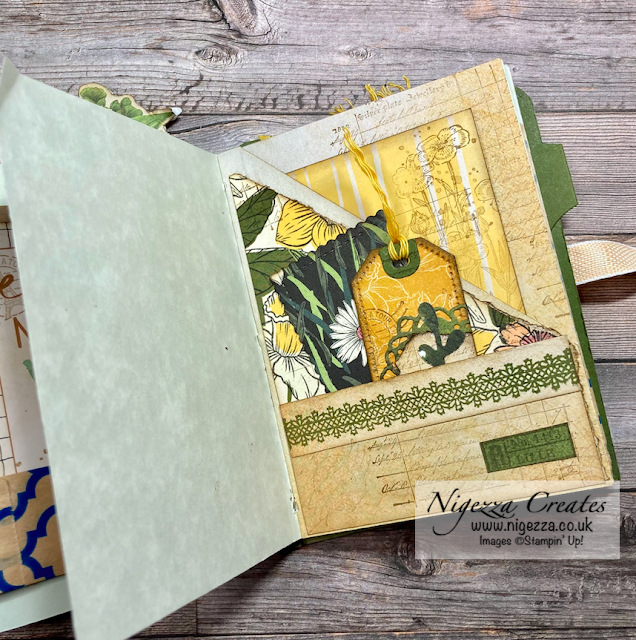
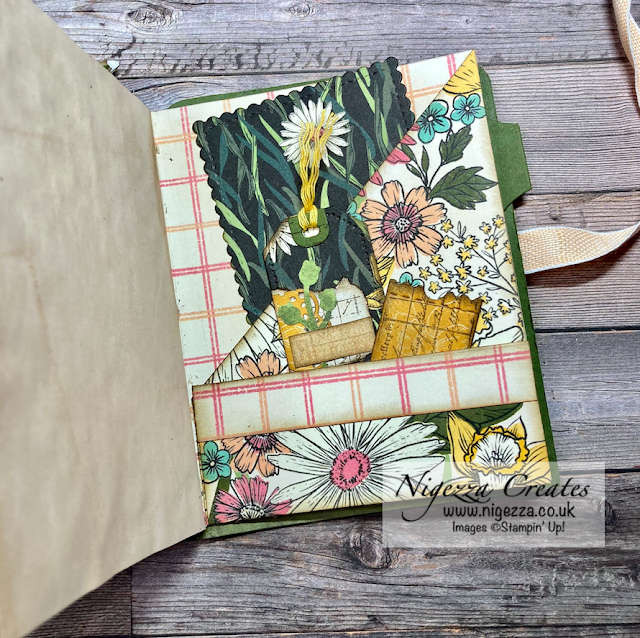
Time for the closeups!
I hope you like this project and will give it a try. To make sure you don't miss any of my projects why not subscribe to my YouTube channel and subscribe to my newsletter and click the button to follow my blog :-)
I will be back tomorrow, until then ...
Happy Crafting!
Gez xxx
Happy Crafting!
Gez xxx
Below are the products I used, if you click on the item it will take you directly to my shop where you can purchase the items.
Host code is Z4FCA6CN
Current Offers From Me
Click here to see my offers, kits and shares :-)
My Shop
My shop is open 24/7 Click here to shop!
Don't forget to use my host code to receive a share of the Stampin' rewards as a thank you for shopping with me :-)
Host code is Z4FCA6CN
If your order is £150 or more before P&P then do not use the host code as you qualify for host rewards on your own and can chose what you want :-)
Joining Offer
- If you want to start a business for £99 then this is the way to do it!
- Choose £130 worth of products from either the Mini Catalogue or the Annual Catalogue
- You can also add products from the clearance rack and the kits that are available in my on line shop
- PLUS during Sale-A-Bration you get to choose 2 extra stamps sets on top of the £130 worth of products
- No obligation to sell, make videos, blog etc
- You can just join up and get the 20% discount for yourself











No comments:
Post a Comment