Nigezza Creates aka Gez, Independent Stampin' Up® Demonstrator
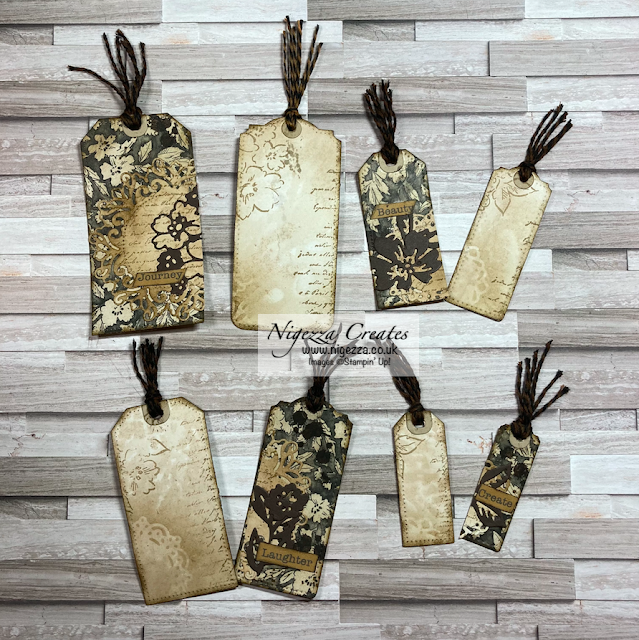
Thank you for visiting my blog today on Junk Journal Wednesday, I really do appreciate. Today I am bringing you the tutorial for the tags I made for the Ink. Stamp. Share Blog Showcase Hop. I decided to make some vintage ephemera for my journals. I wanted to show how easy it is to get a vintage look using your stash as some people find it hard to buy genuine vintage ephemera. I have used the Beautifully Penned DSP, this is free with a £45 order during Sale-A-Braiton. I used inks and stamps to age the DSP and them adhered it to some tea dyed paper I had. I then used the Tailor Made tag dies and cut out 8 tags. I decorated the tags with doilies made with the Encircled in Beauty dies and some die cuts from the Penned Flowers dies. I love how these turned out, They look so vintage.
Measurements and Materials
- I used a scrap of DSP big enough for all tag dies to be cut from
- I used Soft Sued ink and blending brushes to ink the piece so it looked old
- I used various stamps with Crumb Cake ink to add the old vintage look
- I adhere some tea dyed paper to the back (paper was 120gsm) this gave the tags enough strength
- After die cutting the tags and the reinforcers with Crumb Cake card stock I stuck there round the top holes
- I inked around the edges and added stamping on the back of the tags
- I die cut some doilies using the Encircled in Beauty dies out of the left over Tea dyed paper
- I added the scripted stamp from Very Versailles
- I also die cut the flowers & leaves from Penned Flower dies
- These were then adhered to the front of the tags
- I then added some words that I had made on my computer
- To finish off I added 3 strands of bakers twine I had dyed with some Early Espresso ink refill and rubbing alcohol
Now watch the video tutorial to see how this was made :-)
- I used a scrap of DSP big enough for all tag dies to be cut from
- I used Soft Sued ink and blending brushes to ink the piece so it looked old
- I used various stamps with Crumb Cake ink to add the old vintage look
- I adhere some tea dyed paper to the back (paper was 120gsm) this gave the tags enough strength
- After die cutting the tags and the reinforcers with Crumb Cake card stock I stuck there round the top holes
- I inked around the edges and added stamping on the back of the tags
- I die cut some doilies using the Encircled in Beauty dies out of the left over Tea dyed paper
- I added the scripted stamp from Very Versailles
- I also die cut the flowers & leaves from Penned Flower dies
- These were then adhered to the front of the tags
- I then added some words that I had made on my computer
- To finish off I added 3 strands of bakers twine I had dyed with some Early Espresso ink refill and rubbing alcohol
Video Tutorial
Time for the closeups!
I hope you like this project and will give it a try. To make sure you don't miss any of my projects why not subscribe to my YouTube channel and subscribe to my newsletter and click the button to follow my blog :-)
I will be back tomorrow, until then ...
Happy Crafting!
Gez xxx
Happy Crafting!
Gez xxx
Below are the products I used, if you click on the item it will take you directly to my shop where you can purchase the items.
Don't forget to use my host code to receive a share of the Stampin' rewards as a thank you for shopping with me :-)
Don't forget to use my host code to receive a share of the Stampin' rewards as a thank you for shopping with me :-)
Host code is 2MFDVJ63
Current Offers From Me
Click here to see my offers, kits and shares :-)
My Shop
My shop is open 24/7 Click here to shop!
Don't forget to use my host code to receive a share of the Stampin' rewards as a thank you for shopping with me :-)
Host code is 2MFDVJ63
If your order is £150 or more before P&P then do not use the host code as you qualify for host rewards on your own and can chose what you want :-)
Sale-A-Bration
2 Free Tutorial Bundles When You Shop With Me
I have collaborated with Stampin' Up! demos all over the world to create this PDF of 18 mini album tutorials. This is yours free for shopping with me :-)
I have collaborated with Stampin' Up! demos all over the world to create this PDF of 18 mini album tutorials. This is yours free for shopping with me :-)
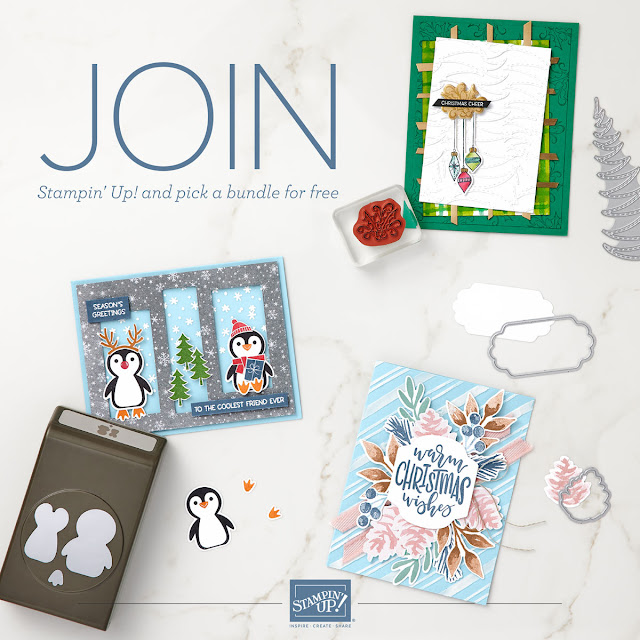
Joining Offer
Sale-A-Bration always brings a great joining offer and this one is no exception.
- If you want to start a business for £99 then this is the way to do it!
- Choose £130 worth of products from either the new Mini Catalogue or the Annual Catalogue
- You can also add products from the clearance rack and the kits that are available in my on line shop
- Then you get to chose one of the 12 bundles shown below absolutely free
- No obligation to sell, make videos, blog etc
- You can just join up and get the 20% discount for yourself
- Please note that you cannot chose Sale-A-Bration rewards with your starter kit but you can get them once you start shopping as a demonstrator


No comments:
Post a Comment