Nigezza Creates aka Gez, Independent Stampin' Up® Demonstrator
Thank you so much for visiting my blog today, I really hope you like my project. I was looking for ideas for my swaps for On Stage and found the blog post for the first swaps I ever made. It was quite funny to read my blog because it was so different to how I wrote them now. I am going to copy and paste some of the detail here but will make the measurements clearer!
Measurements and Materials
- This swap was made using the Envelope Punch Board plus Card Stock (some are retired now) DSP that has now retired.
- I was so excited to be going on my first Stampin Up retreat with Sam from Pootles and the rest of the team. I was even more excited to be taking part in swaps!
- I bought a bag of mini Smarties.
- From a sheet of A4 or standard cardstock I cut 4 squares
- 4 1/8" x 4 1/8"
- Using the envelop punch board I scored and punched at 2" and 3" and then repeated the punch and score on other sides using the scored lines as a guide to where to punch and score.
- Then I created flaps by cutting down the side of the 2 small squares on the smallest pointed sides and notched them.
- I then cut approximately 1/2" off the 2 larger pointed ends and applied Tombow to these 2 sections to glue together and form the belly of the box.
- The 2 smaller pointed ends were rounded off using the corner rounder on the board and the flaps were folded in and the ends tucked in to form the box.
- The Belly band was cut from 12x12 DSP - 2"x5" - so you get 14 out of a sheet.
- I then decorated using the balloon punch and a balloon stamp from Happy Birthday Gorgeous but you can decorate how you wish.
- I stuck this to the from of the box with a dimensional and added a bow made from bakers twine
- I took whisper white twine and coloured it using ink that matched the cardstock I used.
- I used Eastern palace DSP
- Dapper Denim - Tranquil Tide - Very Vanilla - Lemon Lime Twist cardstock
- Matching ink
Video Tutorial
I do hope you enjoyed this little look back with me. I will be back tomorrow with another project share, until then ...
Happy Crafting!
Gez xxx
Below are the products I used, if you click on the item it will take you directly to my shop where you can purchase the items.
Product List
Please remember to use my host code so I can send you some FREE product as a thank you for shopping with me :-)
BUT if your order is £150. or more then DO NOT use the host code because you will have earned your own host rewards and can chose your own FREE items.
New Items added to Sale-A-Bration
My Shop
My shop is open 24/7 Click here to shop!
Don't forget to use my host code to receive a share of the Stampin' rewards as a thank you for shopping with me :-)
Don't forget to use my host code to receive a share of the Stampin' rewards as a thank you for shopping with me :-)
Host code is Q6FVQYKQ
If your order is £150 or more before P&P then do not use the host code as you qualify for host rewards on your own and can chose what you want :-)
My Team
- Click here to join my team!
- No obligation to sell, make videos, blog etc
- You can just join up and get the 20% discount for yourself
- If you want to start a business for £99 then this is the way to do it!
- Chose £170 of products for £99
- You also receive a business pack to get you started
- 2 months FREE online shop
- Support from me and the wider team when you join my team
- I am also a Pootler which is Pootles team (Sam)
- You will also become one of these when you join with me
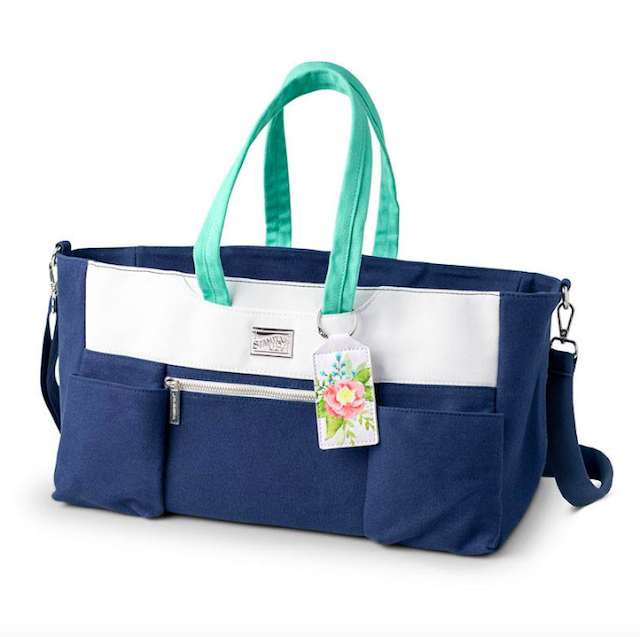
- Option 2 is pay £125 and as well as the £170 worth of product of your choice you will also get an amazing exclusive craft tote bag


I remember those. I was lucky enough to get one!
ReplyDeleteIt was the first time we met I believe ... so glad that happened :-)
Delete