Nigezza Creates aka Gez, Independent Stampin' Up® Demonstrator
Thank you so much for visiting my blog today, I really hope you like my project. I just adore the Frosted Floral Designer Series Paper and I really did not want to cut into it, I would just keep taking it out and stoke it! lol
I am sure I am not alone in doing that! Well I then realised that to properly enjoy it I needed to use it and I wanted to make as much as possible with it so cue a One Sheet Wonder!
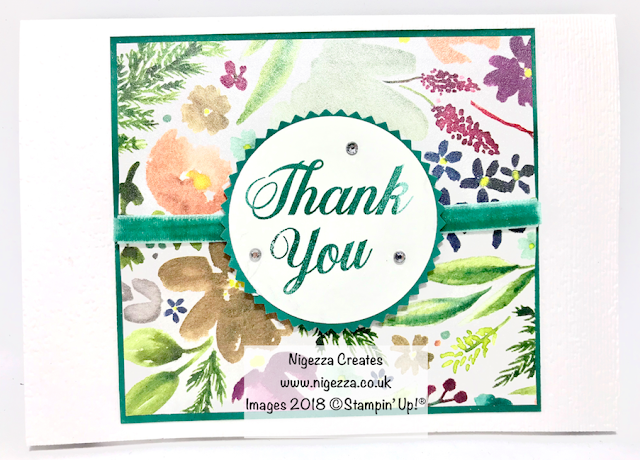
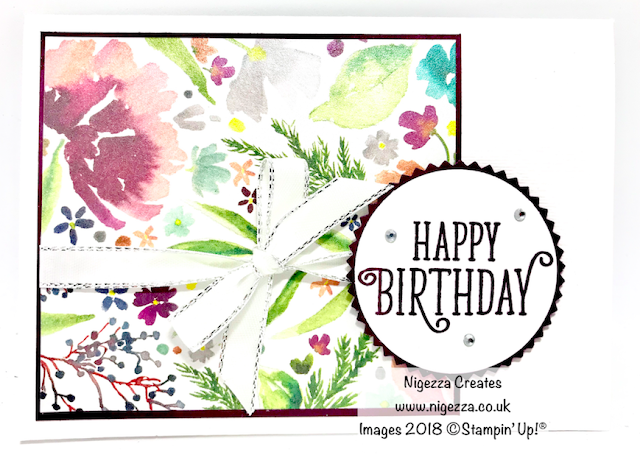
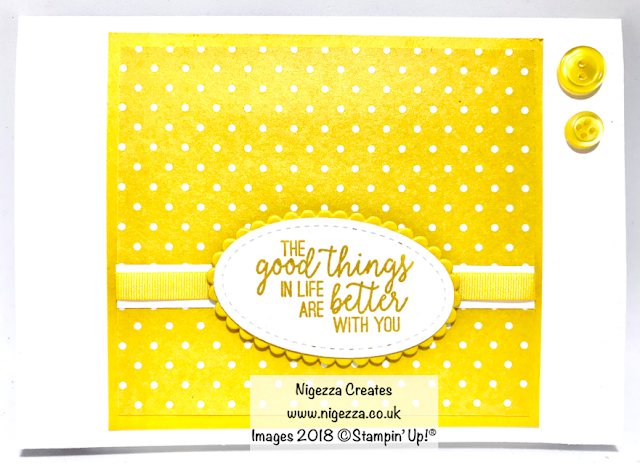
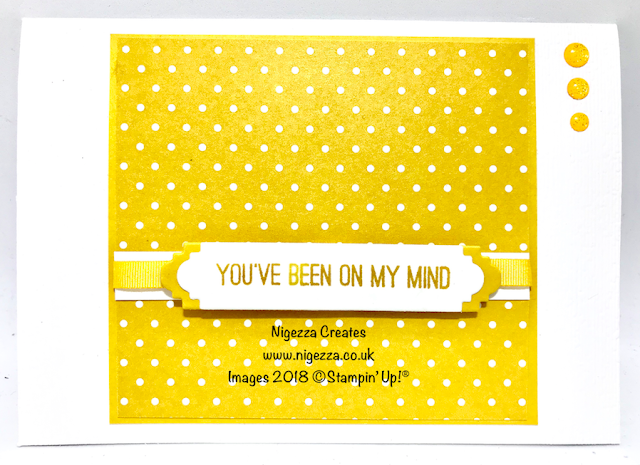
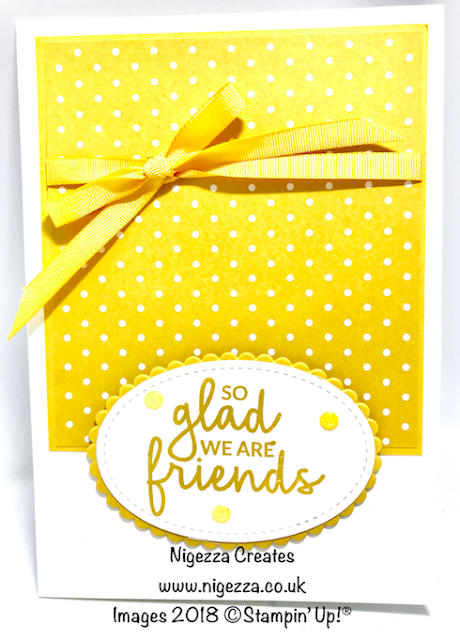
I wanted to make it easy so I cut each piece the same size, 9 cards plus a strip left over that could make another one. I made a set as a prototype with some retired DSP - can you guess what paper I used and what colour? I used lots of different sentiments and dies/punched on this set but decided to stick to 2 sentiments and the same punches for all the cards on the second batch. Check out the close ups to see all 18 cards :-)
Measurements and Materials
Product List
I used a pack of cards and envelopes for the frosted floral cards to make it really quick. For the prototype set I used Extra Thick Whisper White card stock.
- Frosted Floral 12" X 12" (30.5 X 30.5 Cm) Specialty Designer Series Paper
- Blackberry Bliss A4 Cardstock
- Tranquil Tide A4 Cardstock
- Blackberry Bliss Classic Stampin' Pad
- Tranquil Tide Classic Stampin' Pad
- Happy Birthday Gorgeous Photopolymer Stamp Set
- Daisy Delight Photopolymer Stamp Set
- Tranquil Tide 1/4" (6.4 Mm) Velvet Ribbon
- Silver 3/8" Metallic-Edge Ribbon
- Rhinestone Basic Jewels
- Silver Metallic Thread
- 2" Circle Punch
- Starburst Punch
- Subtle Dynamic Textured Impressions Embossing Folder
I used a pack of cards and envelopes for the frosted floral cards to make it really quick. For the prototype set I used Extra Thick Whisper White card stock.
- I embossed each card with the Subtle Embossing folder
- I stamped the sentiments on Whisper White card stock
- I punched them out with the 2" circle punch
- I punched with the Starburst punch in Tranquil Tide and Blackberry Bliss cardstock
- The Frosted Floral DSP was cut into 4 strips each measuring 3 5/8" x 12"
- Each strip was then cut at 4"
- You will have 9 rectangles
- I then cut mats from Tranquil Tide and Blackberry Bliss cardstock 4 1/8" x 3 3/4"
- You get 6 of these mats from a standard A4 sheet of cardstock
- The cards were then put together as per the pictures with added ribbon, thread and rhinestones
Video Tutorial
Time for the closeups!
I do hope you will chop into your beautiful paper and maybe have a go at this One Sheet wonder :-) I will be back soon with another project, until then ...
Happy Crafting!
Gez xxx
Below are the products I used, if you click on the item it will take you directly to my shop where you can purchase the items.
Product List
Please remember to use my host code so I can send you some FREE product as a thank you for shopping with me :-)
BUT if your order is £150. or more then DO NOT use the host code because you will have earned your own host rewards and can chose your own FREE items.
My Shop
My shop is open 24/7 Click here to shop!
Don't forget to use my host code to receive a share of the Stampin' rewards as a thank you for shopping with me :-)
Don't forget to use my host code to receive a share of the Stampin' rewards as a thank you for shopping with me :-)
Host code is WXD9RQ9H
If your order is £150 or more before P&P then do not use the host code as you qualify for host rewards on your own and can chose what you want :-)
My Team
- Click here to join my team!
- No obligation to sell, make videos, blog etc
- You can just join up and get the 20% discount for yourself
- If you want to start a business for £99 then this is the way to do it!
- Chose £130 of products for £99
- You also receive a business pack to get you started
- 2 months FREE online shop
- Support from me and the wider team when you join my team
- I am also a Pootler which is Pootles team (Sam)
- You will also become one of these when you join with me








Great tutorial...I have to remind myself that your A4 paper is slightly larger than ours here in the states...ours is 8.5x11 yours is 8.25x11.5 so slight adjustments need to be made...but I am up for that challenge...love your designs...all the best for 2019
ReplyDeleteGlad you like the tutorial, it is a pain that our standard paper are different sizes but I am sure you can work it out, have fun and Happy Christmas :-)
Delete