Nigezza Creates aka Gez, Independent Stampin' Up® Demonstrator
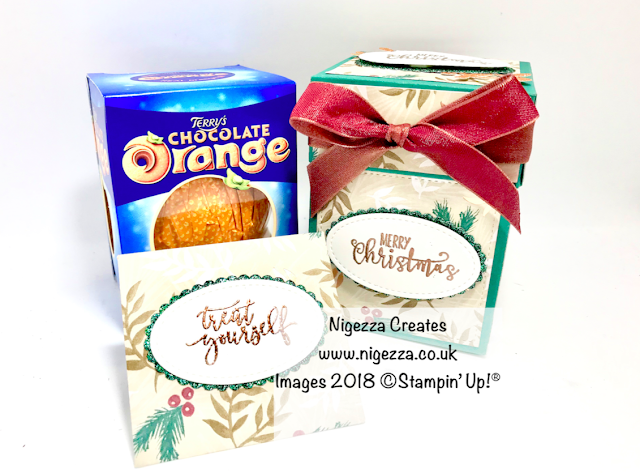
I recently went to a large family gathering so got some Christmas presents ready to save postage! There are a number of teenagers in our family and we never know what to get them so we tend to give them money so they can choose themselves. But I like to dress the money up in. nice gift box. This year I have decided to give them a lovely chocolate orange along with the money, who doesn't like a chocolate orange?
Measurements and Materials
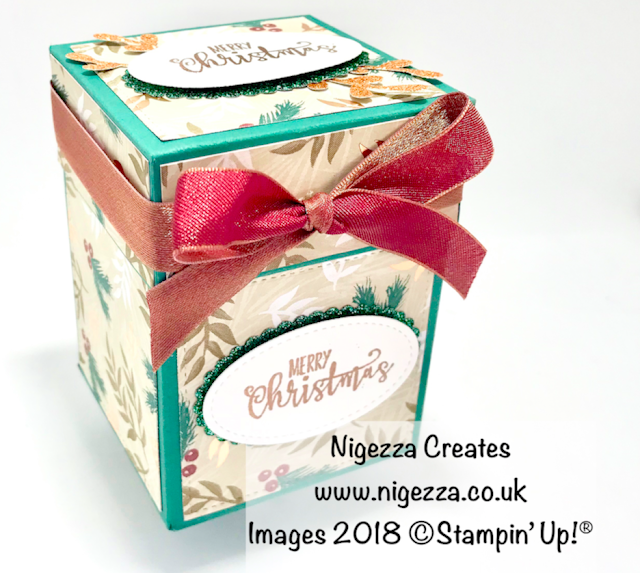
I have made a chocolate orange gift box before, this one differs in that its made from card stock that. has Designer Series Paper matted on it. The measurements are the same for this box as the other but with the addition of mats.
Product List
- Tranquil Tide A4 Cardstock
- Box base 12 x 6 3/4
- score @: Long side - 2 7/8 - 5 3/4 - 8 5/8 - 11 1/2
- score @: Short side - 2 7/8
- Box Lid 7 7/16 x 7 7/16
- score @ 1 & 2 1/4 on ALL 4 sides rotating the square of cardstock
- Joyous Noel 12" X 12" (30.5 X 30.5 Cm) Specialty Designer Series Paper
- Mats for the Lid
- I cut 1 square using the largest Stitched Square Framelit die
- Sides of the lid I cut 4 rectangles 1 1/8" x 2 13/16"
- Mats for the box base
- I cut 4 squares using the largest Stitched Square Framelit die
- Joyous Noel 6" X 6" Glimmer Paper
- I used the Tranquil Tide glimmer paper to cut scalloped ovals to mat with the sentiments
- I used one for the lid
- 1 for the front of the box
- 1 for the envelope for the cash
- Whisper White A4 Card Stock
- Used for the 3 sentiments
- Half Full Clear-Mount Stamp Set
- I used the Merry Christmas sentiment
- Picture Perfect Birthday Photopolymer Stamp Set
- I used the Treat Yourself sentiment for the envelope with the cash in
- Versamark Pad
- Used to stamp the sentiments
- Copper Stampin' Emboss Powder
- used to emboss the sentiments
- Merry Merlot & Copper 5/8" (1.6 Cm) Reversible Ribbon
- Used as decoration around the lid of the box
- I tied a box in the front
- I twisted the ribbon before make
- ing the second loop so the copper side of the ribbon was outwards
- Stitched Shapes Framelits Dies
- Largest square was used for the squares of DSP
- Oval was used for the sentiments
- Layering Ovals Framelits Dies
- Scallop oval was used to layer the sentiment
- Envelope Punch Board
- Used to make the envelope
- DSP 4 5/8" x 4 5/8"
- Punch @ 2 3/8"
Video Tutorial
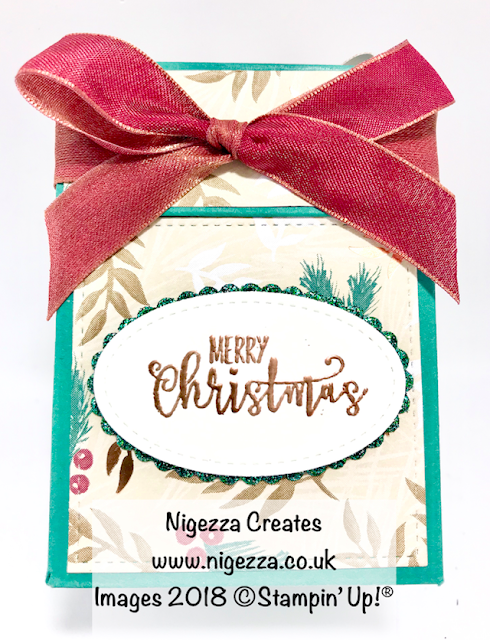
Time for the close ups
I do hope you enjoyed this project, if you would like to check out the original project where I hand stamped the card stock instead of matting paper on each side then here is the the blog post.
Click here to see the original project :-)
I will be back on Sunday with another project as usual, until then ...
Happy Crafting!
Gez xxx
Below are the products I used, if you click on the item it will take you directly to my shop where you can purchase the items.
Product List
Please remember to use my host code so I can send you some FREE product as a thank you for shopping with me :-)
My Shop
My shop is open 24/7 Click here to shop!
Don't forget to use my host code to receive a share of the Stampin' rewards as a thank you for shopping with me :-)
Don't forget to use my host code to receive a share of the Stampin' rewards as a thank you for shopping with me :-)
Host code is FDC43URK
My Team
- Click here to join my team!
- No obligation to sell, make videos, blog etc
- You can just join up and get the 20% discount for yourself
- If you want to start a business for £99 then this is the way to do it!
- Chose £130 of products for £99
- You also receive a business pack to get you started
- 2 months FREE online shop
- Support from me and the wider team when you join my team
- I am also a Pootler which is Pootles team (Sam)
- You will also become one of these when you join with me


No comments:
Post a Comment