Nigezza Creates aka Gez, Independent Stampin' Up® Demonstrator
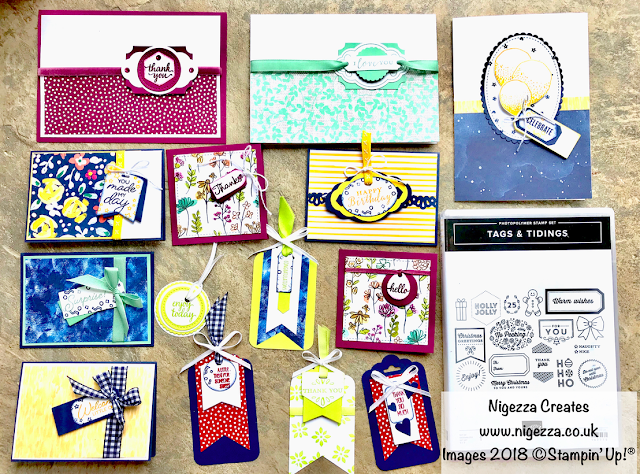
Thank you for joining me today. Don't you love it when you find more than one use for a set, Stampin' Up! products are full of such versatile products and that makes them such good value. The Tags & Tidings set makes fabulous Christmas tags by using the die cut out as a template you can add other stamps and change it up.
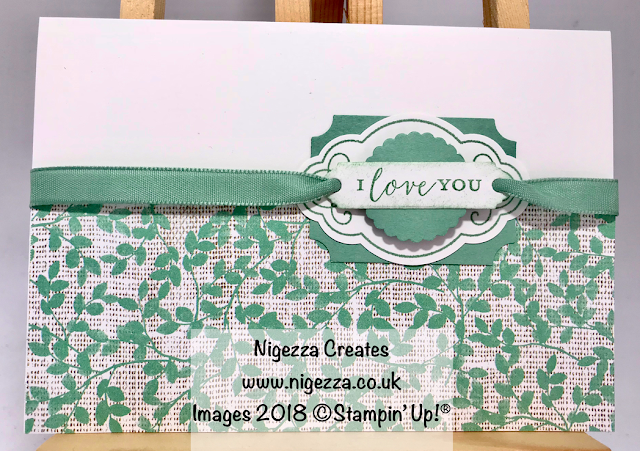
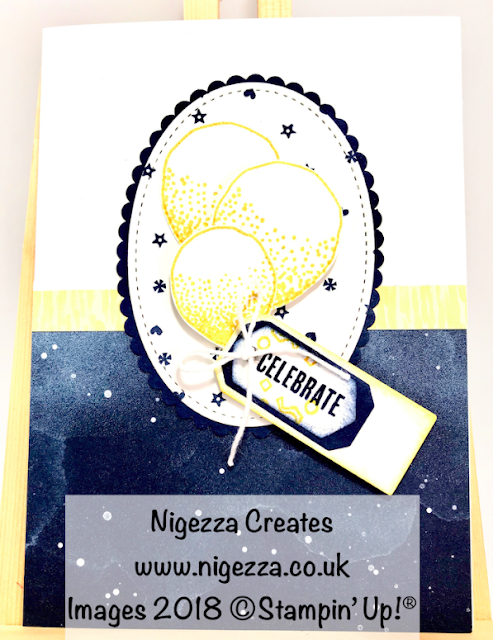
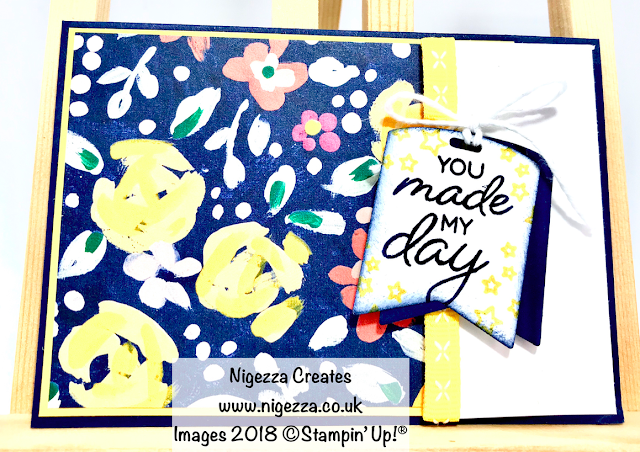
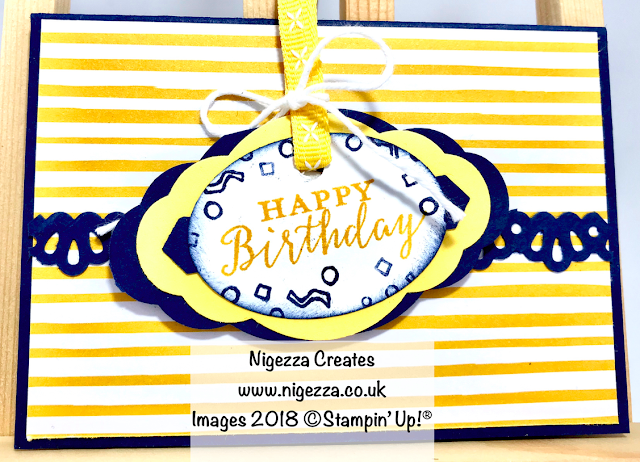
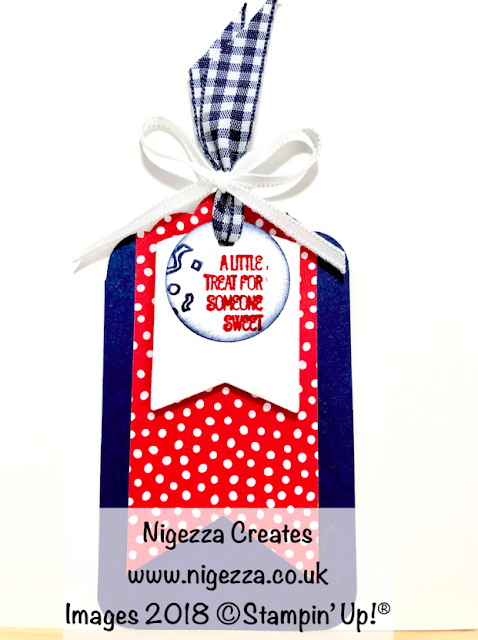
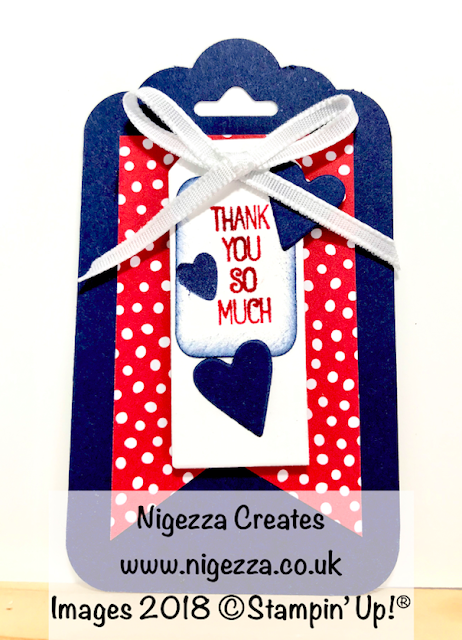
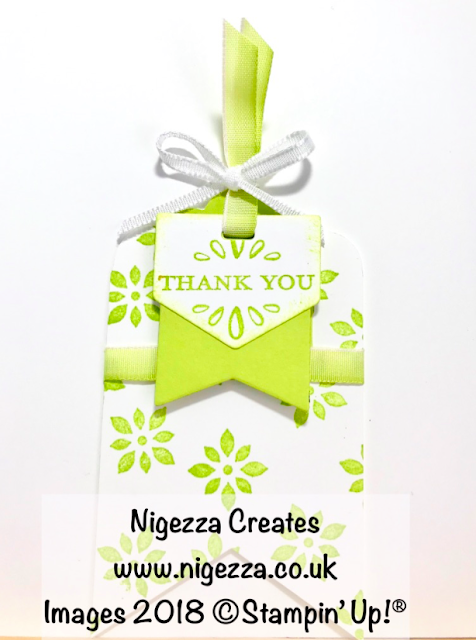
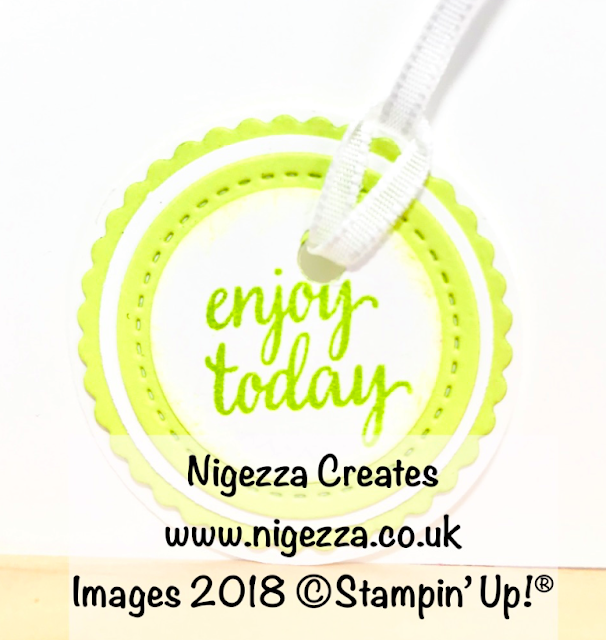
I made a selection of cards and tags for many occasions using a selection of sentiments from various stamp sets. There are lots of different possibilities these are just the ones I used.
Measurements
- I made 3 standard C6 cards
- Half a sheet of A4 card stock cut in half and scored in half
- I made 4 note cards
- 1/4 sheet of A4 card stock scored in half
- I made 2 3"x3" cards
- 6"x3" scored in half
- I made 5 tags
- 4 - 2" x 3 1/2"
- I used the tag topper punch - opps forgot that from the list!
- The 5th tag was made of layering circles using different circle punches - something else I forgot to add to the list!
- I then used a cut out from using the Tags and Tidings die as a template and stamped my different sentiments in the holes
- Any sentiment Stamos that you have would work
- I then cut these out using the die
- I then used different decorative elements in stamp sets
- I also sponged edges
- I also cut the tags in different coloured card stock to layer up with the stamped tags
- I also layered them with different label punches
- Half a sheet of A4 card stock cut in half and scored in half
- 1/4 sheet of A4 card stock scored in half
- 6"x3" scored in half
- 4 - 2" x 3 1/2"
- I used the tag topper punch - opps forgot that from the list!
- The 5th tag was made of layering circles using different circle punches - something else I forgot to add to the list!
Preparing the template
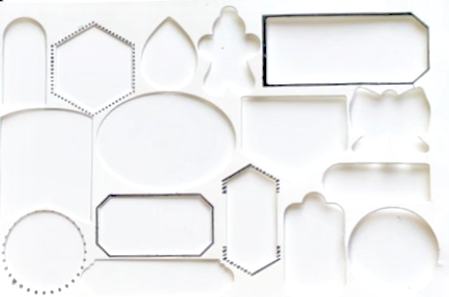
- I cut a standard piece of card stock in half lengthways, I stamped the tacks and tidings stamp onto it and cut it out using the die.
- This gave me a template
- I folded the card stock in half
- I then used washy tape to secure the template over the unstamped card stock
- I then placed it on the Stamperatas
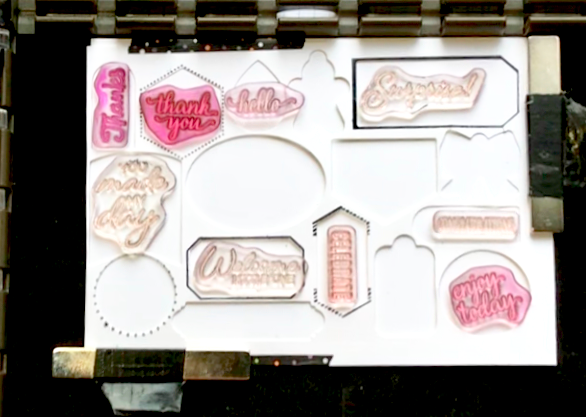
- I laid the Photopolymer stamps in the places where they fit
- I picked them up with one of the Stamperatas plates
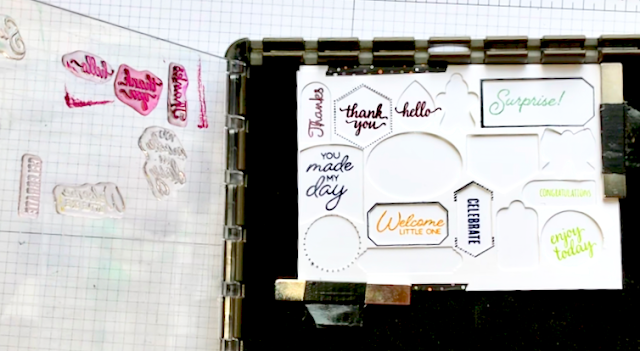
- I inked up the stamps and stamped them
- Then I placed the clear mount stamps in place and repeated the process
- I then cut these labels out using the die
Here is the template folded over the unstamped card stock
Here is the stamped laid in position.
Here I stamped the sentiments.
Then I repeated it with the clear mount stamps
- I cut a standard piece of card stock in half lengthways, I stamped the tacks and tidings stamp onto it and cut it out using the die.
- This gave me a template
- I folded the card stock in half
- I then used washy tape to secure the template over the unstamped card stock
- I then placed it on the Stamperatas
- I laid the Photopolymer stamps in the places where they fit
- I picked them up with one of the Stamperatas plates
- I inked up the stamps and stamped them
- Then I placed the clear mount stamps in place and repeated the process
- I then cut these labels out using the die
Video Tutorial
Time for the close ups!
Materials
I looked at my stash and used what I had, here is a list of the products I used ... I think I have listed them all lol!
Product List
My Shop
My shop is open 24/7 Click here to shop!
Don't forget to use my host code to receive a share of the Stampin' rewards as a thank you for shopping with me :-)
Don't forget to use my host code to receive a share of the Stampin' rewards as a thank you for shopping with me :-)
Host code is 2DT22Y6Z
My Team
- Click here to join my team!
- No obligation to sell, make videos, blog etc
- You can just join up and get the 20% discount for yourself
- If you want to start a business for £99 then this is the way to do it!
- Chose £130 of products for £99
- You also receive a business pack to get you started
- 2 months FREE online shop
- Support from me and the wider team when you join my team
- I am also a Pootler which is Pootles team (Sam)
- You will also become one of these when you join with me








No comments:
Post a Comment